1. Ubuntu服务器安装docker
强烈建议在ubuntu上使用apt安装docker,brew安装docker会出现很多问题
需要安装两个关键包docker和docker-compose,前者是docker容器,后者是一个可以根据docker-compose.yml配置文件快速部署docker应用的软件,后续会使用到。
使用sudo apt install docker.io以及sudo apt install docker-compose安装(如果你想尝试使用brew也可以按照以下方式使用)。
首先查看一下docker相关包
ubuntu@VM-0-9-ubuntu ~ brew search docker
==> Formulae
docker                             docker-ls                          docker-machine-parallels
docker-clean                       docker-machine                     docker-slim
docker-completion                  docker-machine-completion          docker-squash
docker-compose                     docker-machine-driver-hyperkit     docker-swarm
docker-compose-completion          docker-machine-driver-vmware       docker2aci
docker-credential-helper           docker-machine-driver-vultr        dockerize
docker-credential-helper-ecr       docker-machine-driver-xhyve        lazydocker
docker-gen                         docker-machine-nfs

==> Casks
homebrew/cask-versions/docker-edge                   homebrew/cask/docker-toolbox
homebrew/cask/docker
执行brew install docker以及brew install docker-compose
安装完成查看版本信息并开启docker服务sudo systemctl stop docker,然后可以执行docker run hello-world测试docker是否可以正常运行
ubuntu@VM-0-9-ubuntu ~ docker-compose -v
docker-compose version 1.25.1, build unknown
ubuntu@VM-0-9-ubuntu ~ docker -v
Docker version 19.03.5, build 633a0ea
ubuntu@VM-0-9-ubuntu ~ sudo systemctl stop docker

ubuntu@VM-0-9-ubuntu ~ docker run hello-world
Unable to find image 'hello-world:latest' locally
latest: Pulling from library/hello-world
1b930d010525: Pull complete
Digest: sha256:d1668a9a1f5b42ed3f46b70b9cb7c88fd8bdc8a2d73509bb0041cf436018fbf5
Status: Downloaded newer image for hello-world:latest

Hello from Docker!
This message shows that your installation appears to be working correctly.
2. 配置docker-compose
Chevereto支持通过docker部署,这样方便进行管理而且不会影响服务器环境,数据保存和导入也更加方便。使用docker-compose可以快速部署,并且配置一些数据卷挂载以及依赖容器等等。
首先在根目录下创建一个隐藏文件夹.chevereto存放我们的配置文件以及挂载的数据卷,进入.chevereto目录,并新建一个docker-compose.yml文件,以及三个文件夹chevereto_images、conf、database,docker-compose.yml内容如下:
version: '3'

services:
  db:
    image: mariadb
    container_name: chevereto-mysql
    # 挂载容器中的mysql数据卷到本地database文件夹
    volumes:
      - ./database:/var/lib/mysql:rw
    restart: always
    networks:
      - chevereto-net
    # 设置容器中的mysql的root用户密码以及其他用户
    environment:
      MYSQL_ROOT_PASSWORD: root
      MYSQL_DATABASE: chevereto
      MYSQL_USER: chevereto
      MYSQL_PASSWORD: chevereto

  chevereto:
    depends_on:
      - db
    image: nmtan/chevereto
    container_name: chevereto
    restart: always
    networks:
      - chevereto-net
    # 设置CHEVERETO_DB的一些参数
    environment:
      CHEVERETO_DB_HOST: db
      CHEVERETO_DB_USERNAME: chevereto
      CHEVERETO_DB_PASSWORD: chevereto
      CHEVERETO_DB_NAME: chevereto
      CHEVERETO_DB_PREFIX: chv_
    # 挂载容器中的images文件夹到本地的chevereto_images文件夹,以及
    # 将本地的conf/upload.ini配置文件挂载到容器的/usr/local/etc/php/conf.d/中
    volumes:
      - ./chevereto_images:/var/www/html/images:rw
      - ./conf/upload.ini:/usr/local/etc/php/conf.d/upload.ini:ro
    # 端口映射,本机:容器,需要配置安全组
    ports:
      - 7777:80

networks:
  chevereto-net:
volumes:
  database:
  chevereto_images:
我们创建的三个文件夹分别挂载了不同的容器文件夹,chevereto_images和database用于数据迁移,/conf/upload.ini用于配置上传文件限制。
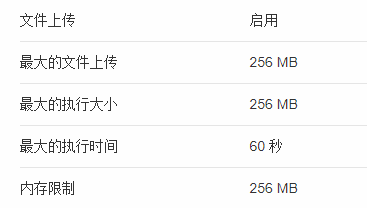
在conf目录中创建upload.ini,这个可以取消2MB文件上传限制,内容如下:
PHP:
max_execution_time = 60;
memory_limit = 256M;
upload_max_filesize = 256M;
post_max_size =  256M;
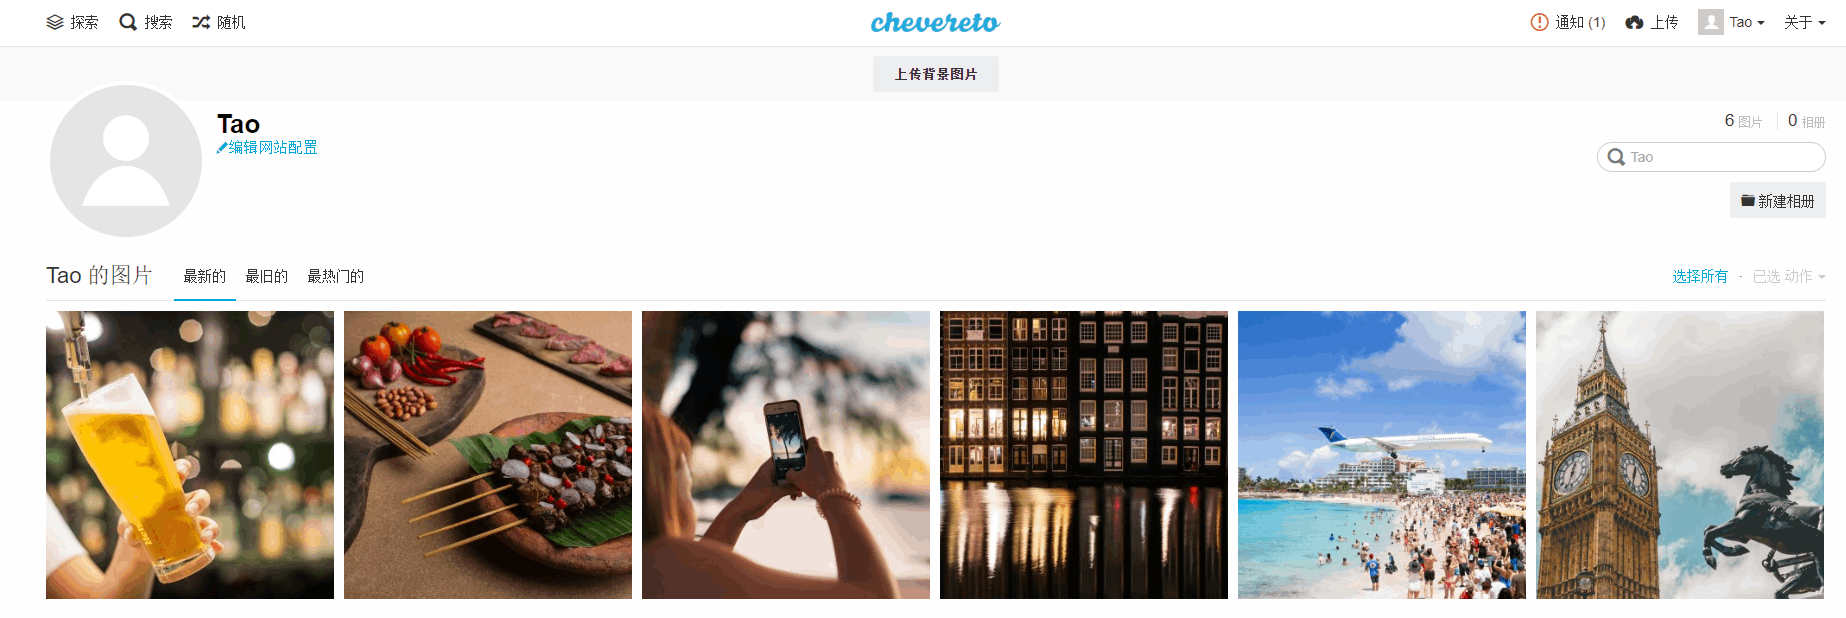
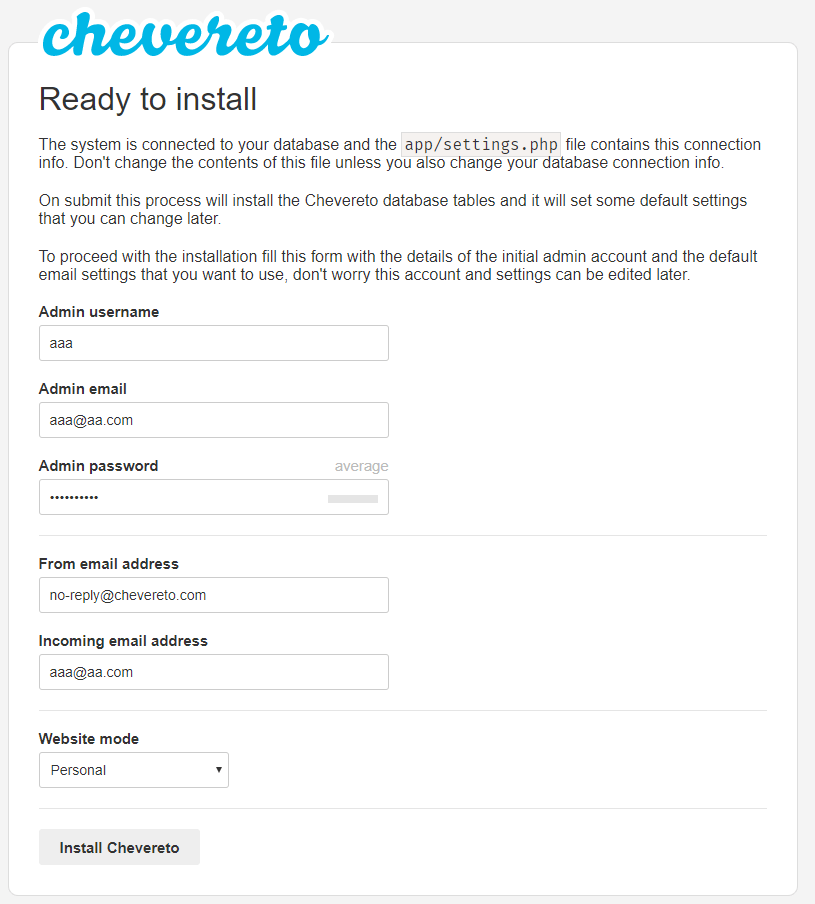
然后修改权限sudo chown -R www-data:www-data database chevereto_images conf,最后启动docker-compose up -d,然后就可以通过IP+端口号访问chevereto图床了(应该只能通过http访问,https是不可以的)。首次登录如下:
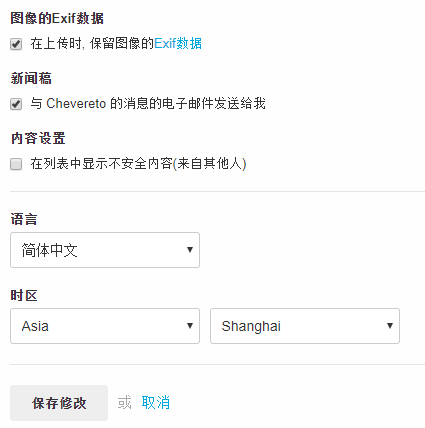
修改语言为中文
可以看到文件上传大小被修改为上面的uploda.ini的内容了
3. 数据迁移
上面我们的database文件夹保存的是我们的账号信息、配置信息等等,chevereto_images保存了我们上传的图片数据,如果我们需要从当前服务器迁移到另一个服务器只需要保存好.chevereto中的所有内容,然后全部放到另一个服务器的.chevereto目录中,同样设置权限,然后安装docker和docker-compose,然后执行docker-compose up -d就可以直接运行,我们的数据也会一起同步过来。